How to Use a Handheld Laser Marker for On-Site Tasks
Handheld laser markers have become essential tools for on-site tasks across industries like construction, manufacturing, logistics, and maintenance. These portable devices use laser technology to create precise, permanent marks on various materials—including metal, wood, plastic, and stone—making them ideal for labeling, branding, or identifying items in field settings. Unlike stationary laser markers, handheld models offer flexibility, allowing users to mark objects without moving them to a workshop. This guide explains how to use a handheld laser marker effectively for on-site tasks, covering setup, operation, safety, and tips for optimal results.
What Is a Handheld Laser Marker?
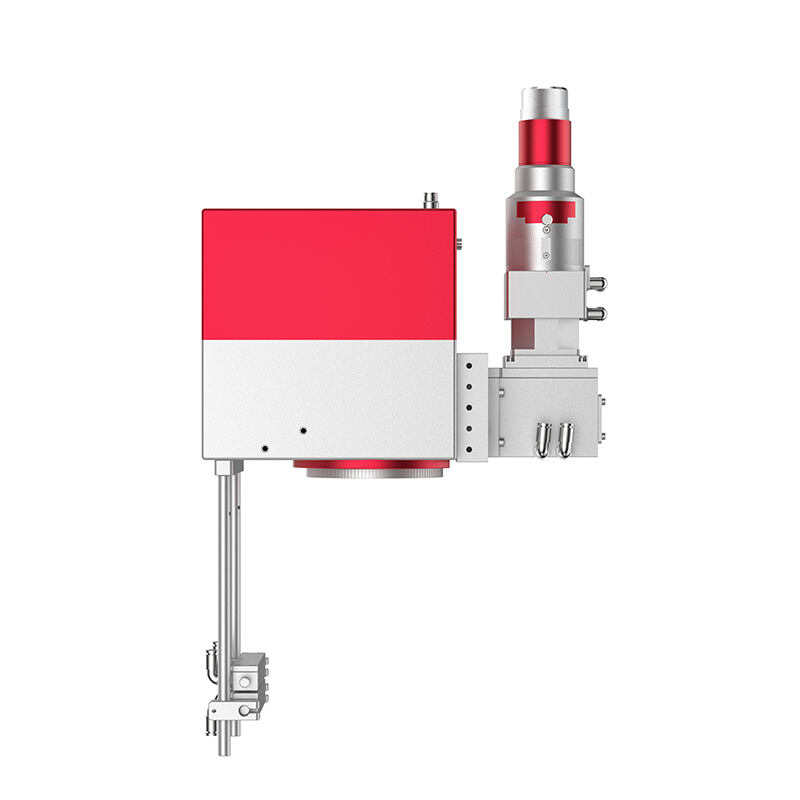
A handheld laser marker is a portable device that uses a focused laser beam to engrave or mark surfaces. It works by heating the material’s surface to create a permanent contrast—either by removing a layer, changing the material’s color, or creating a shallow indentation. These markers are lightweight, battery-powered, and designed for easy handling, making them perfect for on-site use where mobility is key. They can mark text, numbers, barcodes, logos, or simple patterns, with adjustable settings to control depth, speed, and precision based on the material and task.
Key Features of a Handheld Laser Marker
Understanding the features of a handheld laser marker helps users operate it effectively:
- Laser Power: Measured in watts (W), power determines the marker’s ability to mark different materials. Low-power markers (5–20W) work for wood, plastic, or thin metal, while high-power models (30–100W) handle thick metal or stone.
- Adjustable Settings: Most markers let users adjust speed (how fast the laser moves) and depth (how intense the mark is) to match the material. For example, soft wood requires lower power and faster speed than steel.
- Portability: Lightweight (usually 1–3 kg) and battery-powered, with rechargeable batteries lasting 2–8 hours depending on use. Some models include a carrying case for easy transport.
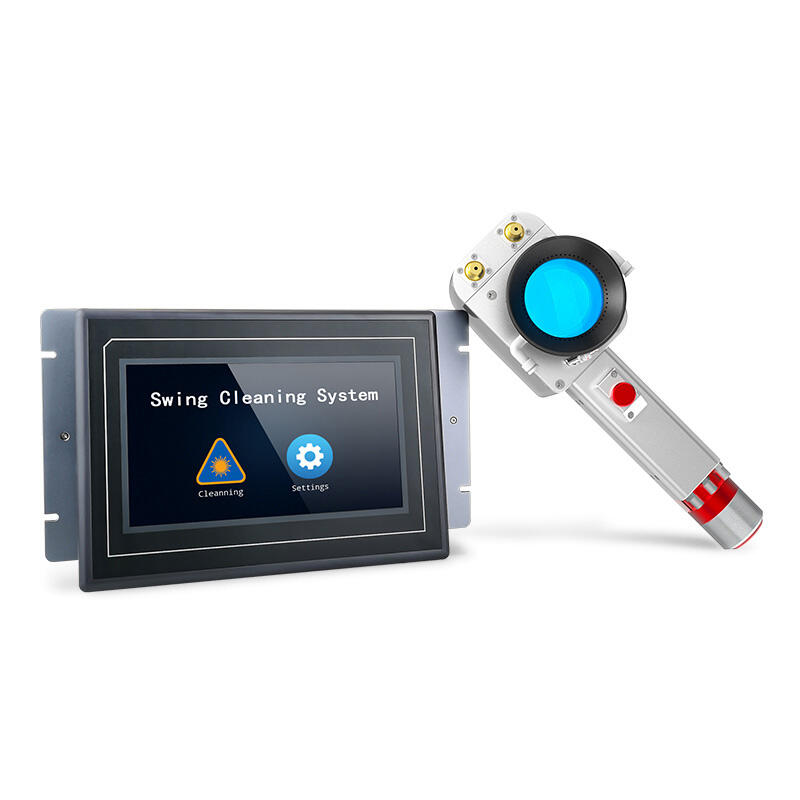
- Connectivity: Many connect to smartphones or tablets via Bluetooth or Wi-Fi, allowing users to upload custom designs (like logos or barcodes) from apps or software.
- Safety Features: Includes laser safety glasses, emergency stop buttons, and overheat protection to prevent accidents during use.
Step-by-Step Guide to Using a Handheld Laser Marker On-Site
Step 1: Prepare the Work Area and Material
Before starting, ensure the work area is safe and the material is ready for marking:
- Safety First: Clear the area of bystanders, especially children. Put on the included laser safety glasses to protect your eyes from the laser beam. Ensure the marker is on a stable surface or held securely if marking vertical surfaces.
- Clean the Surface: Wipe the material with a dry cloth to remove dirt, dust, or oil. A clean surface ensures the laser mark is clear and precise.
- Secure the Material: If marking small or irregularly shaped items, clamp them down to prevent movement during marking. This avoids blurry or uneven marks.
Step 2: Charge and Power On the Marker
- Charge the Battery: Ensure the handheld laser marker is fully charged before heading to the site. Most models take 2–4 hours to charge, and a full battery supports several hours of use. For long tasks, bring a portable charger.
- Power On: Press the power button and wait for the marker to initialize. Some models have a warm-up period (30 seconds to 1 minute) before the laser is ready.
Step 3: Select or Create the Mark Design
- Choose a Preset Design: Many handheld laser markers come with preloaded templates, such as serial numbers, dates, or simple logos. Use the device’s screen or connected app to select the desired design.
- Upload a Custom Design: For unique marks (like company logos or barcodes), connect the marker to a smartphone or laptop via Bluetooth. Use compatible software (often provided by the manufacturer) to upload the design, adjusting size and position as needed.
- Test the Design: Print a test mark on a scrap piece of the same material. Check if the depth and clarity are correct—adjust settings if the mark is too faint or too deep.
Step 4: Position the Marker and Adjust Settings
- Align the Laser: Hold the handheld laser marker steady, positioning the laser dot at the start of the marking area. Some models have a built-in preview function to show where the mark will appear.
- Adjust Distance: Maintain the recommended distance from the material (usually 5–15 cm, specified in the user manual). Too close may burn the material; too far reduces precision.
-
Set Speed and Power: Based on the material, adjust the laser speed and power. For example:
- Wood or plastic: Lower power (5–15W) and faster speed (50–100 mm/s).
- Metal (steel or aluminum): Higher power (20–50W) and slower speed (10–30 mm/s).
- Stone or glass: Medium power (15–30W) and moderate speed (30–60 mm/s).
Step 5: Start Marking
- Initiate the Mark: Press the start button (either on the device or via the app). Keep the marker steady during marking—movement can distort the design. For larger marks, move the marker slowly along the path, following the laser’s guidance.
- Monitor the Process: Stay focused while the laser is active, keeping hands and body away from the beam. If the material starts to smoke excessively, pause and reduce power to avoid damage.
Step 6: Inspect and Finish
- Check the Mark: After marking, let the material cool (especially for metal or wood). Inspect the mark for clarity, depth, and accuracy. If needed, re-mark with adjusted settings.
- Power Off and Clean Up: Turn off the handheld laser marker, remove the battery if storing for a long time, and pack it in its case. Dispose of scrap materials safely, and clean the marker’s lens with a soft cloth to remove dust.
Tips for Effective On-Site Use of Handheld Laser Markers
- Practice on Scrap Material: Before marking valuable items, practice on scraps to familiarize yourself with the marker’s settings and handling.
- Handle with Care: Avoid dropping the marker, as internal components are delicate. Use the carrying case for transport to prevent damage.
- Maintain Battery Life: For all-day tasks, carry a spare battery or portable charger. Lowering laser power when possible extends battery life.
- Follow Material Guidelines: Not all materials are suitable for laser marking. Avoid marking flammable materials (like certain plastics) or reflective surfaces (like mirrored metal), which can redirect the laser and cause injury.
- Keep Records: For tasks like asset tracking, log the marked items with their serial numbers or codes, using the marker’s connected app to store data.
Common On-Site Applications of Handheld Laser Markers
- Construction: Marking structural components with serial numbers, installation dates, or safety codes for traceability.
- Logistics: Labeling pallets, crates, or packages with barcodes or tracking numbers for inventory management.
- Manufacturing: On-site part marking for quality control, such as engraving batch numbers on machinery parts.
- Maintenance: Marking equipment with service dates or inspection labels to track upkeep schedules.
- Art and Crafts: Creating custom designs on wood, leather, or stone for decorative projects during outdoor events or workshops.
FAQ
Is training required to use a handheld laser marker?
Basic training is recommended, especially for safety. Most manufacturers provide user manuals and online tutorials covering setup, operation, and safety. For high-power models, formal training may be required to avoid accidents.
Can handheld laser markers work in wet or dusty conditions?
Most are designed for indoor use, but some rugged models are water-resistant (IP54 or higher) and dustproof, suitable for construction sites or outdoor tasks. Check the device’s specifications for environmental ratings.
How long do handheld laser markers last?
With proper maintenance, a quality handheld laser marker can last 3–5 years. Laser diodes typically have a lifespan of 10,000–50,000 hours of use, depending on power and frequency of operation.
Can they mark curved surfaces?
Yes, but it’s more challenging. Hold the marker at a consistent distance and angle, or use a flexible attachment (if available) to follow the curve. Test on a curved scrap piece first to adjust settings.
Are handheld laser markers safe for beginners?
Yes, as long as safety guidelines are followed. Always wear safety glasses, keep the laser away from eyes and skin, and avoid marking reflective or flammable materials. Start with low-power models for practice.

 Hot News